Advertisement
How to Send Emails From the WordPress Dashboard With MailCannon
You can send email campaigns directly from the WordPress admin using the MailCannon WordPress plugin. Connect your MailCannon API key, choose one of your existing MailCannon campaigns, and send it to your WordPress users and WooCommerce customers — without leaving the dashboard.
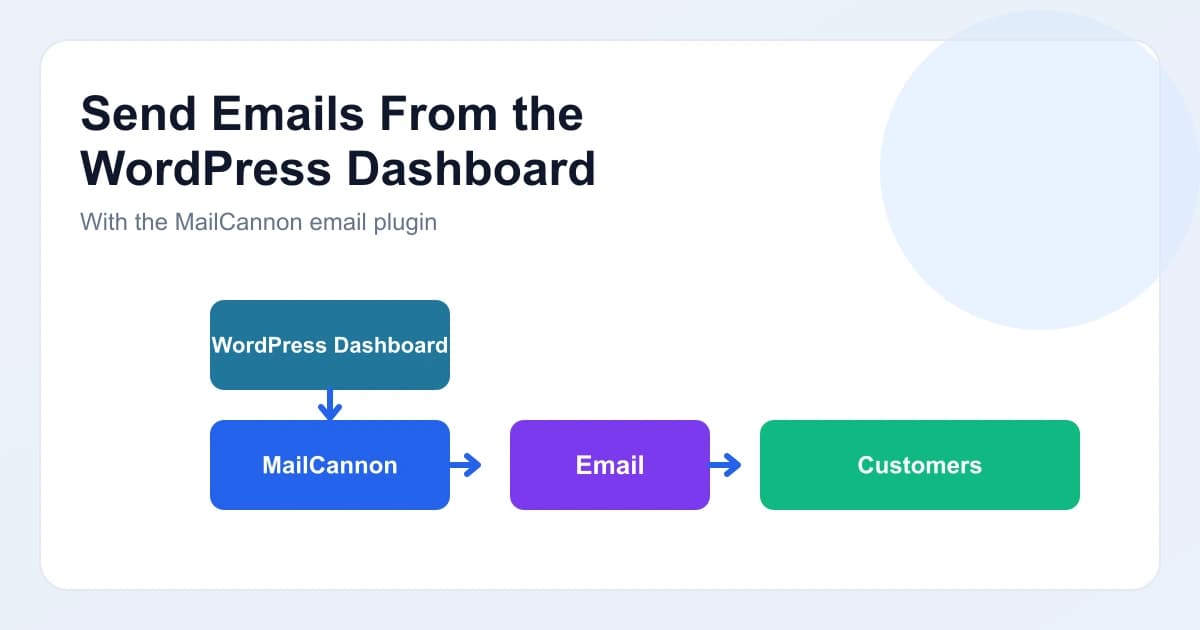
Most of the time, the email platform and the WordPress website live on opposite sides of the marketing stack. Campaigns are built in one tool, while contacts and site behavior live in another. The MailCannon WordPress plugin shortens that distance: it lets you send email from the WordPress dashboard, using the accounts and contacts your site already has.
- Install the plugin
- Connect your MailCannon API key
- Pick the campaign you want to send
- Choose your recipients from WordPress users or WooCommerce customers
- Send and track the result
This guide walks through the whole flow in a way you can follow from your own MailCannon WordPress plugin, and it explains how the plugin fits into a broader email strategy.
What the MailCannon WordPress Plugin Does
The plugin's official description is simple: it sends MailCannon campaigns to your WordPress users and WooCommerce customers. In practice, that means the plugin acts as a bridge between your WordPress email plugin and the MailCannon sending platform.
Here is how that model works:
- The campaign lives in MailCannon. You create and manage the email itself in MailCannon, where you also find templates, audience tools, and tracking.
- The recipients come from WordPress. The plugin reads your WordPress users and, when WooCommerce is active, your WooCommerce customers.
- The sending happens through the plugin. From the WordPress admin you select a campaign and a set of recipients, then tell MailCannon to send it.
This is an important distinction to understand up front. You do not write a freeform email from scratch inside the plugin. Instead, you choose an existing MailCannon campaign and deliver it to the right people on your site. That keeps content, tracking, and compliance centralized in one place while making WordPress the place where you target and send.
Why Send Email From WordPress at All?
WordPress already knows who uses your site. You have registered users, subscribers, and — if you run a shop — paying customers in WooCommerce. Being able to send email from WordPress means you can act on that data without moving it somewhere else first.
The main benefits of this approach:
- Work where your contacts already are
- Target WordPress users and WooCommerce customers directly
- Reuse campaigns you have already built and tested in MailCannon
- Keep tracking and reporting in MailCannon
- Give editors and admins a familiar place to send
If WordPress is the front door of your business and email is how you follow up, a plugin that connects them saves you from building a custom integration. For a deeper look at the plugin concept, see our MailCannon WordPress plugin guide.
Before You Start
You need a few things in place before you can send email from WordPress:
- A MailCannon account. The plugin sends through MailCannon by API, so you need an account and the campaign you want to send.
- An API key. You generate this in your MailCannon dashboard settings and paste it into the plugin.
- WordPress with the plugin installed. Activate the MailCannon plugin on the site you want to send from.
- Recipients in WordPress. Either regular users, or WooCommerce customers if you run a store.
The plugin supports WordPress users out of the box. For WooCommerce customers, WooCommerce needs to be active on your site so the plugin can detect and list those customers.
Step 1 — Install and Activate the Plugin
Start from the official listing on WordPress.org or from the MailCannon plugins page. Install the plugin like any other and activate it.
After activation, you will see a MailCannon menu in your WordPress admin. The plugin gives administrators and editors the ability to use it, so users in those roles can access the plugin's pages.
What you get
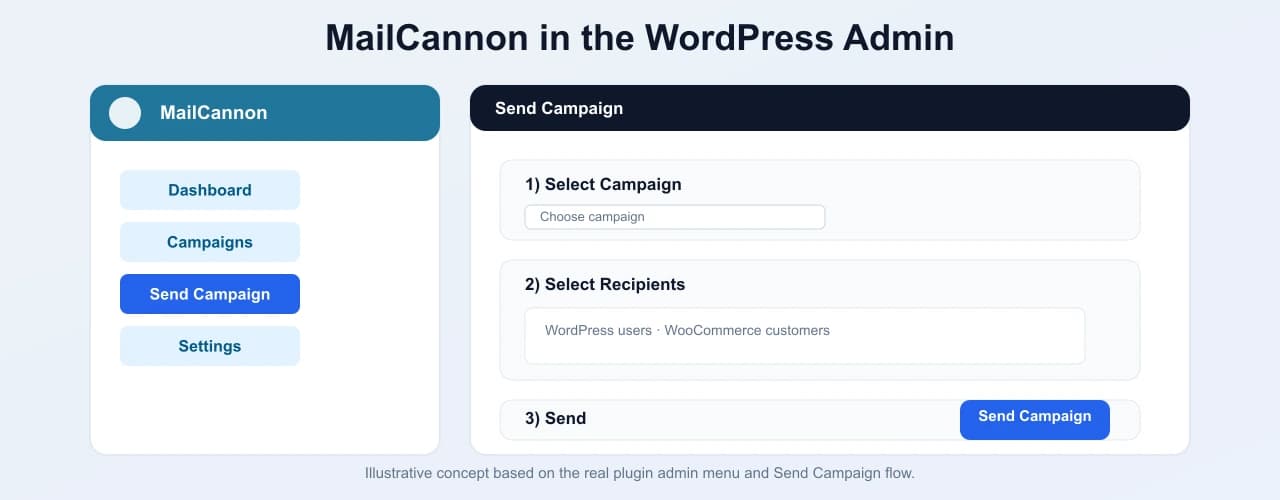
A MailCannon menu with four screens: Dashboard, Campaigns, Send Campaign, and Settings.
Step 2 — Connect Your API Key
Open the MailCannon Settings screen. This is where you connect WordPress to your MailCannon account.
- Get your API key from your MailCannon dashboard settings. The plugin links you to the right place to copy it.
- Paste the key into the API Key field in the plugin.
- Click Save.
- Use the Test Connection button to confirm that WordPress can reach MailCannon with the key you entered.
Once the key is saved, the plugin can fetch your campaigns and send them on your behalf. You can clear the stored key anytime from the same screen.
The dashboard screen shows your connection status. If the key is configured and the test succeeds, it will show that you are connected to MailCannon. If anything is off, it tells you what went wrong.
Step 3 — Check Your Campaigns
The Campaigns screen lists the campaigns available in your MailCannon account. It shows each campaign's name and ID, and there is a Refresh button to pull the latest list.
If you need to create or edit a campaign, the plugin links you to the Campaigns area of your MailCannon dashboard, where you build and manage the content. Remember: the plugin sends campaigns you have already created in MailCannon.
A practical tip: keep your campaigns organized with clear names so they are easy to recognize in the dropdown when you are about to send. This reduces the risk of sending the wrong message to your customers.
Step 4 — Choose Recipients
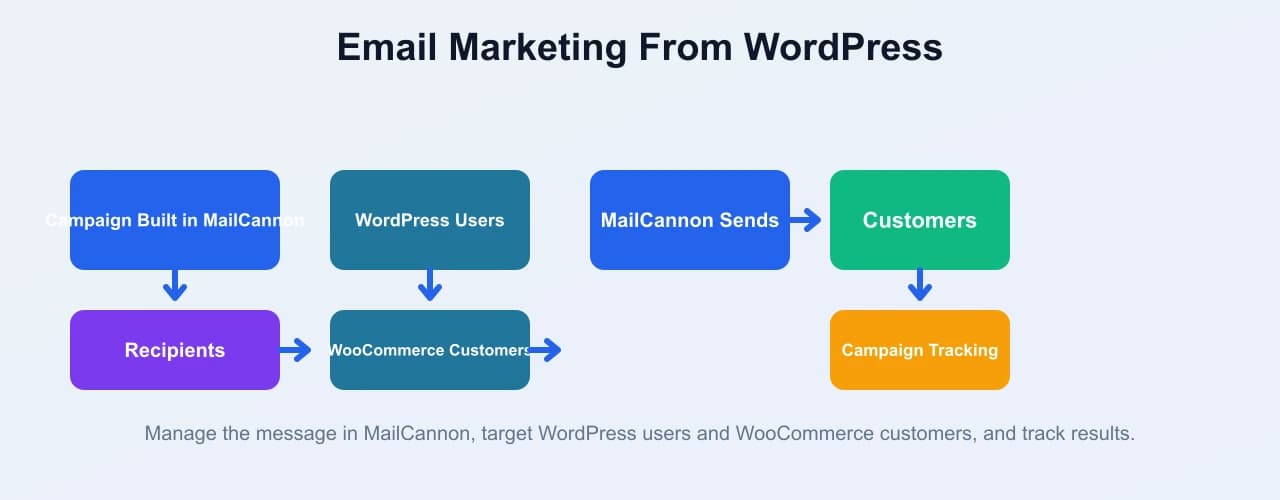
The heart of the plugin is recipient selection. On the Send Campaign screen you pick the people who will receive your email. The plugin sources recipients from two places:
- WordPress users — the people with accounts on your site.
- WooCommerce customers — the people who have purchased from your store, listed when WooCommerce is active.
You can filter recipients by source:
- All sources — both WordPress users and WooCommerce customers
- WordPress users — only site accounts
- WooCommerce customers — only store customers
You can also search by name or email to narrow the list, and paginate through the results. Each recipient row shows the name, email, and source, and you select the ones you want with a checkbox.
This makes it easy to target a subset of your audience — for example, only WooCommerce customers, or only a group you found by searching — rather than emailing everyone at once.
Step 5 — Send the Campaign
The Send Campaign screen guides you through three steps in one place:
- Select Campaign — choose the MailCannon campaign you want to send from a dropdown.
- Select Recipients — filter and check the recipients you want to include.
- Send — submit the campaign to launch delivery.
When you send, the plugin hands the campaign ID and your selected recipients to MailCannon, which handles the actual delivery through your account. After sending, you can review results through the Campaign Tracking link, which opens the tracking area of your MailCannon dashboard.
Because the send goes through MailCannon, your authentication, sending identity, and tracking settings from your MailCannon account apply. That is a cleaner approach than trying to manage sending infrastructure manually from WordPress. If you want to understand the machinery behind reliable sending, our guide to what SMTP is and how email sending works is a good place to start.
Step 6 — Track and Review Results
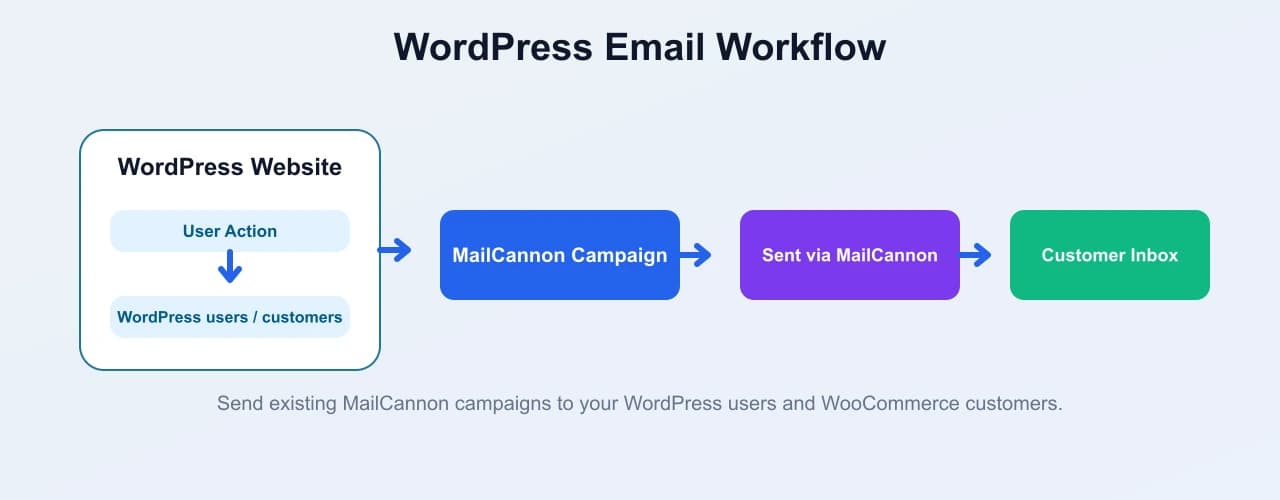
After you hit send, the plugin does not leave you in the dark. Every send goes through MailCannon, which means open tracking, click tracking, and campaign reporting live in your MailCannon account. The Send Campaign screen includes a Campaign Tracking link that takes you directly to the tracking area of your MailCannon dashboard.
If you need to see which campaigns are available or refresh the list after you have created a new one in MailCannon, the Campaigns screen lets you pull the latest campaigns with a Refresh button. This is useful after you have edited a campaign, created a new one, or renamed something in your MailCannon account and want the WordPress dropdown to reflect those changes.
It is worth noting that tracking data lives in MailCannon, not in the plugin itself. This is a benefit: you get a single source of truth for campaign analytics across all your sending channels, whether you send from WordPress, from the MailCannon dashboard, or through the API.
Use Case 1 — Announcements and Updates
The most common reason to send email from WordPress is simple communication: a product update, a policy change, a new feature, or a site-wide announcement. With the plugin you can reach your registered users and customers directly from the dashboard, using a campaign you already built in MailCannon.
Because you control reach, you can send an update to all users or just a relevant segment. Segmenting your audience this way makes the message more relevant, which matters for engagement. For the principles behind splitting your audience, see our guide to email segmentation.
Use Case 2 — WooCommerce Customer Outreach
If you run a WooCommerce store, your customers are one of your most valuable audiences. The plugin lets you target those customers directly with a MailCannon campaign. Common examples include:
- Introducing a new product line
- Sharing a seasonal promotion
- Announcing a store update
- Sending relevant content to past buyers
Because you can filter by the WooCommerce source, it is straightforward to send a campaign specifically to your customers rather than to everyone with an account. If you want to make each offer more relevant, review our guide to email personalization.
Use Case 3 — Member and Community Emails
For membership sites and communities, WordPress users are your audience. You can keep members informed with campaigns sent straight from the dashboard — digest updates, feature announcements, or invitations to participate. Filtering by WordPress users keeps community messages separate from store outreach.
This is especially useful for sites where membership drives engagement: online courses, discussion forums, or product communities. Because the plugin pulls user data directly from WordPress, you can target the right subset of users without exporting or importing anything. If you want to go deeper into the audience strategy, our guide to email segmentation covers the principles of splitting your audience meaningfully.
What Happens After You Send
Once the campaign is sent, your MailCannon dashboard becomes the reporting home. From there you can review:
- How many recipients were reached
- Which emails bounced or failed
- Open and click engagement data
- Unsubscribes and opt-outs
If the campaign had a low open rate, the problem might not be delivery — it might be the subject line, the audience, or the timing. If your emails are landing in spam, the root cause is usually in the upstream pieces: sender reputation, authentication records like SPF and DKIM, or list hygiene. Our guide to how to improve email deliverability walks through those levers, and if you want to understand the underlying records, our guide to SPF, DKIM, and DMARC explains the mechanics.
For campaign-level tracking, MailCannon links from the plugin take you to the tracking area in your dashboard. If you need to send a different version or correct something, you can build the next campaign in MailCannon, then use the plugin to send it again from WordPress.
Advertisement
Tips for Better Deliverability
Sending email from WordPress through a proper platform is a step in the right direction, but delivery is never guaranteed. The main levers that help you reach the inbox:
- Send relevant messages to a targeted audience
- Keep your lists clean and current
- Show a clear and consistent sender identity
- Make it easy for people to opt out
- Avoid sending to people who are not interested
Because sends go through MailCannon, the deliverability steps you take there — authentication, reputation, and list hygiene — carry over. To go deeper, see our guides on how to improve email deliverability and why your emails go to spam. And before loading people into any campaign, you can use our tool to check if an email address exists so your recently added addresses are in good shape.
For an overview of the core concept, our guide to email deliverability walks through the whole picture.
Frequently Asked Questions
Can you send emails from the WordPress dashboard?
Yes. With the MailCannon WordPress plugin you can send one of your existing MailCannon campaigns directly from the WordPress admin. You connect your MailCannon API key, pick the campaign you want to send, select recipients from your WordPress users and WooCommerce customers, and send.
Is the MailCannon WordPress plugin free?
The plugin itself is available for free on WordPress.org. As with many email platforms, sending campaigns through your MailCannon account may use campaign credits or the sending allowances of your MailCannon plan, so check your account and plan for the details that apply to you.
What do I need to send emails from WordPress?
You need a MailCannon account to obtain an API key, a WordPress site with the plugin installed and activated, a MailCannon campaign ready to send, and recipients selected from your WordPress users or WooCommerce customers.
Can I send emails to WordPress users?
Yes. The MailCannon WordPress plugin can list your WordPress users and let you select which ones receive a campaign. You can also choose to send to your WooCommerce customers instead, or to a combination of both.
Can I send emails to WooCommerce customers from WordPress?
Yes, when WooCommerce is active on your site. The plugin detects WooCommerce customers and lets you target them with a MailCannon campaign directly from the WordPress admin, alongside or instead of regular WordPress users.
Does the plugin require a MailCannon account?
Yes. The plugin sends through MailCannon by API, so you need a MailCannon account and an API key. The campaign itself is created and managed in MailCannon, and the plugin sends that existing campaign to your WordPress or WooCommerce recipients.
Can I compose a new email template inside the WordPress plugin?
The plugin is designed to send existing MailCannon campaigns. You build and manage the campaign content in MailCannon, then use the plugin to select and send that campaign to recipients from your WordPress site.
Does sending from WordPress guarantee delivery to the inbox?
No. Delivery depends on your sending reputation, authentication, list quality, and recipient behavior. Good deliverability practices — clean lists, clear sender identity, relevant content, and easy opt-out — help, but nothing guarantees the inbox.
How do I send a campaign to only part of my users?
The Send Campaign screen lets you search recipients and filter by source (WordPress users, WooCommerce customers, or all) and then select the specific recipients you want. This helps you target a subset instead of the whole list.
Who can send campaigns from WordPress with the plugin?
The plugin grants the capability to manage it to administrators and editors when it is activated, so those roles can access the MailCannon pages and send campaigns from the WordPress admin.
Conclusion
Sending email from the WordPress dashboard is straightforward once you connect the pieces: a MailCannon account with an API key, a campaign ready to send, and the recipients your WordPress site already knows. The MailCannon plugin brings those together in the admin, letting you target WordPress users and WooCommerce customers without building custom code or moving your contacts around.
To get started, grab your API key from MailCannon, install the MailCannon WordPress plugin, and send your first campaign from the dashboard today.
Send Email Straight From WordPress
Connect the MailCannon WordPress plugin, pick a campaign, and reach your WordPress users and WooCommerce customers from the admin.
Advertisement